The Read Statuses feature in Spark Pro lets users see if and when their sent emails have been opened. It helps teams track communication and follow up efficiently while maintaining privacy for recipients.
How does it work?
The Read Statuses feature is displayed as an eye icon, which consists of 3 states:
- The eye icon has a strikethrough: the email hasn’t been opened by anyone
- The eye icon is greyed out: the email has been opened by someone out of all recipients
- The eye icon is blue: the mail has been opened by all recipients
You can tap or click the eye icon to see the list of recipients who have already seen the email, starting from the last one to read the message at the top.
To learn how this feature works, please refer to our blog.
How to enable Read Statuses?
Here are the instructions for Mac:
- Launch Spark on your Mac.
- Go to Spark Settings > Composer.
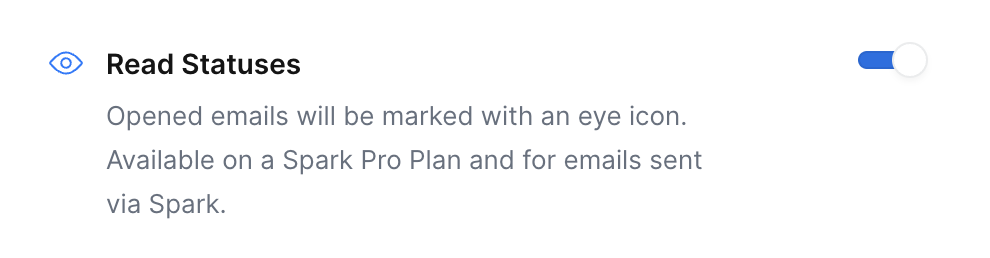
- Enable the Read Statuses toggle.
- Go to Notifications under Read Statuses.
- Choose Select All recipients or None.

Here are the instructions for Windows:
- Launch Spark on your Mac.
- Go to Spark Settings > Composer.
- Enable the Read Statuses toggle.
- Go to Notifications under Read Statuses.
- Choose Select All recipients or None.
Here are the instructions for Android:
- Launch Spark on your Android.
- Go to Spark Settings > Read Statuses.
- Enable Read Statuses.
- Go to Notification type under the Enable Read Statuses line.
- Select All recipients or No notifications.
Here are the instructions for iOS:
- Launch Spark on your iPhone or iPad.
- Go to Spark Settings > Read Statuses.
- Enable Read Statuses.
- Go to Notifications under the Read Statuses line.
- Select All recipients or No notifications.
Who can use Read Statuses?
The Read Statuses feature is available exclusively in the Spark Pro plan, as it is designed primarily for business use.
How to block tracking pixels in Spark?
Spark blocks 1x1 tracking pixels by default. That doesn’t cover the whole range of tracking pixels, but already offers decent protection. If you want to be sure that no tracking pixel is skipped, we may suggest using our option to disable remote image loading for now. Here’s how to do it:
Here are the instructions for Mac:
- Open Spark Settings > General.
- Load remote images > Disable the toggle.
Here are the instructions for Windows:
- Open Spark Settings > General.
- Load remote images > Disable the toggle.
Here are the instructions for Android:
- Tap the menu icon
 at the top left.
 - Tap Settings
 at the bottom.
 - Open Security > Load remote images > Disable the toggle.
Here are the instructions for iOS:
- Tap the menu icon
 at the top left.
 - Open Settings > Security.
- Load Remote Images > Disable the toggle.